We have a pattern on our website called Fit For a King and we also designed the pattern called Antique Americana on the Accuquilt website, so I thought it might be fun to do a tutorial for sewing this block. Here are photos of those two quilts.


Here is what the Accuquilt Die looks like.

The die has three shapes on it labeled A, B & C. Now at first glance, you may think that shape “A” is an equilateral triangle, and the die packaging would lead you to believe that it is an equilateral triangle, but it is not. When piecing this shape, there is a correct orientation for laying it out and piecing it.
Look at one of the shape A’s laid over another one, as in the photo below, and you can see that they are not the same on all sides.

There is a distinct orientation for correctly piecing shape “A.” You need to identify the top of Shape” A and stack them all with the top on top.

The next photo shows the correct orientation of shape A on the right side of the shape B Diamond. You flip shape A over to the left on top of shape B per the photo below. Notice the orientation of shape A on top of shape B for sewing.

It helps if you sew with leaders and enders. These are scraps of fabric you start sewing on before sewing on your quilt pieces and stop on after you have sewn your chain of quilt pieces. This prevents the corners of your pieces from getting jammed down in the feed dogs. This next picture shows the 1/4″ seam sewn. Notice how the seam starts on the top point and ends by going through the bottom point.


Next press the seam toward the triangle.

Place another shape A onto the B diamond. Notice the orientation of the top on shape A.

Look at the 1/4″ seam below. Notice how the it starts at the top point and ends by going through the bottom point.

Press toward second shape A. Second photo is view from the back. Make 4 of these combined units.


Layout these combine units with shape Cs to the left of them.

Flip the combined units onto shape C as depicted below. Note how they are sewn from point to point.


Press toward shape C. View from the back. Make 4 of these units.


Lay out the 4 units per the photo below.

Place one of the units on top of another and sew along the right edge with a 1/4 ” seam. Second photo below is view of seam from back.


Press seam toward shape C.

Lay out two half units.

Flip one half unit onto the other and pin where the diamonds intersect. Note the 1/4″ seam line in the second photo.


Press the center seam open.

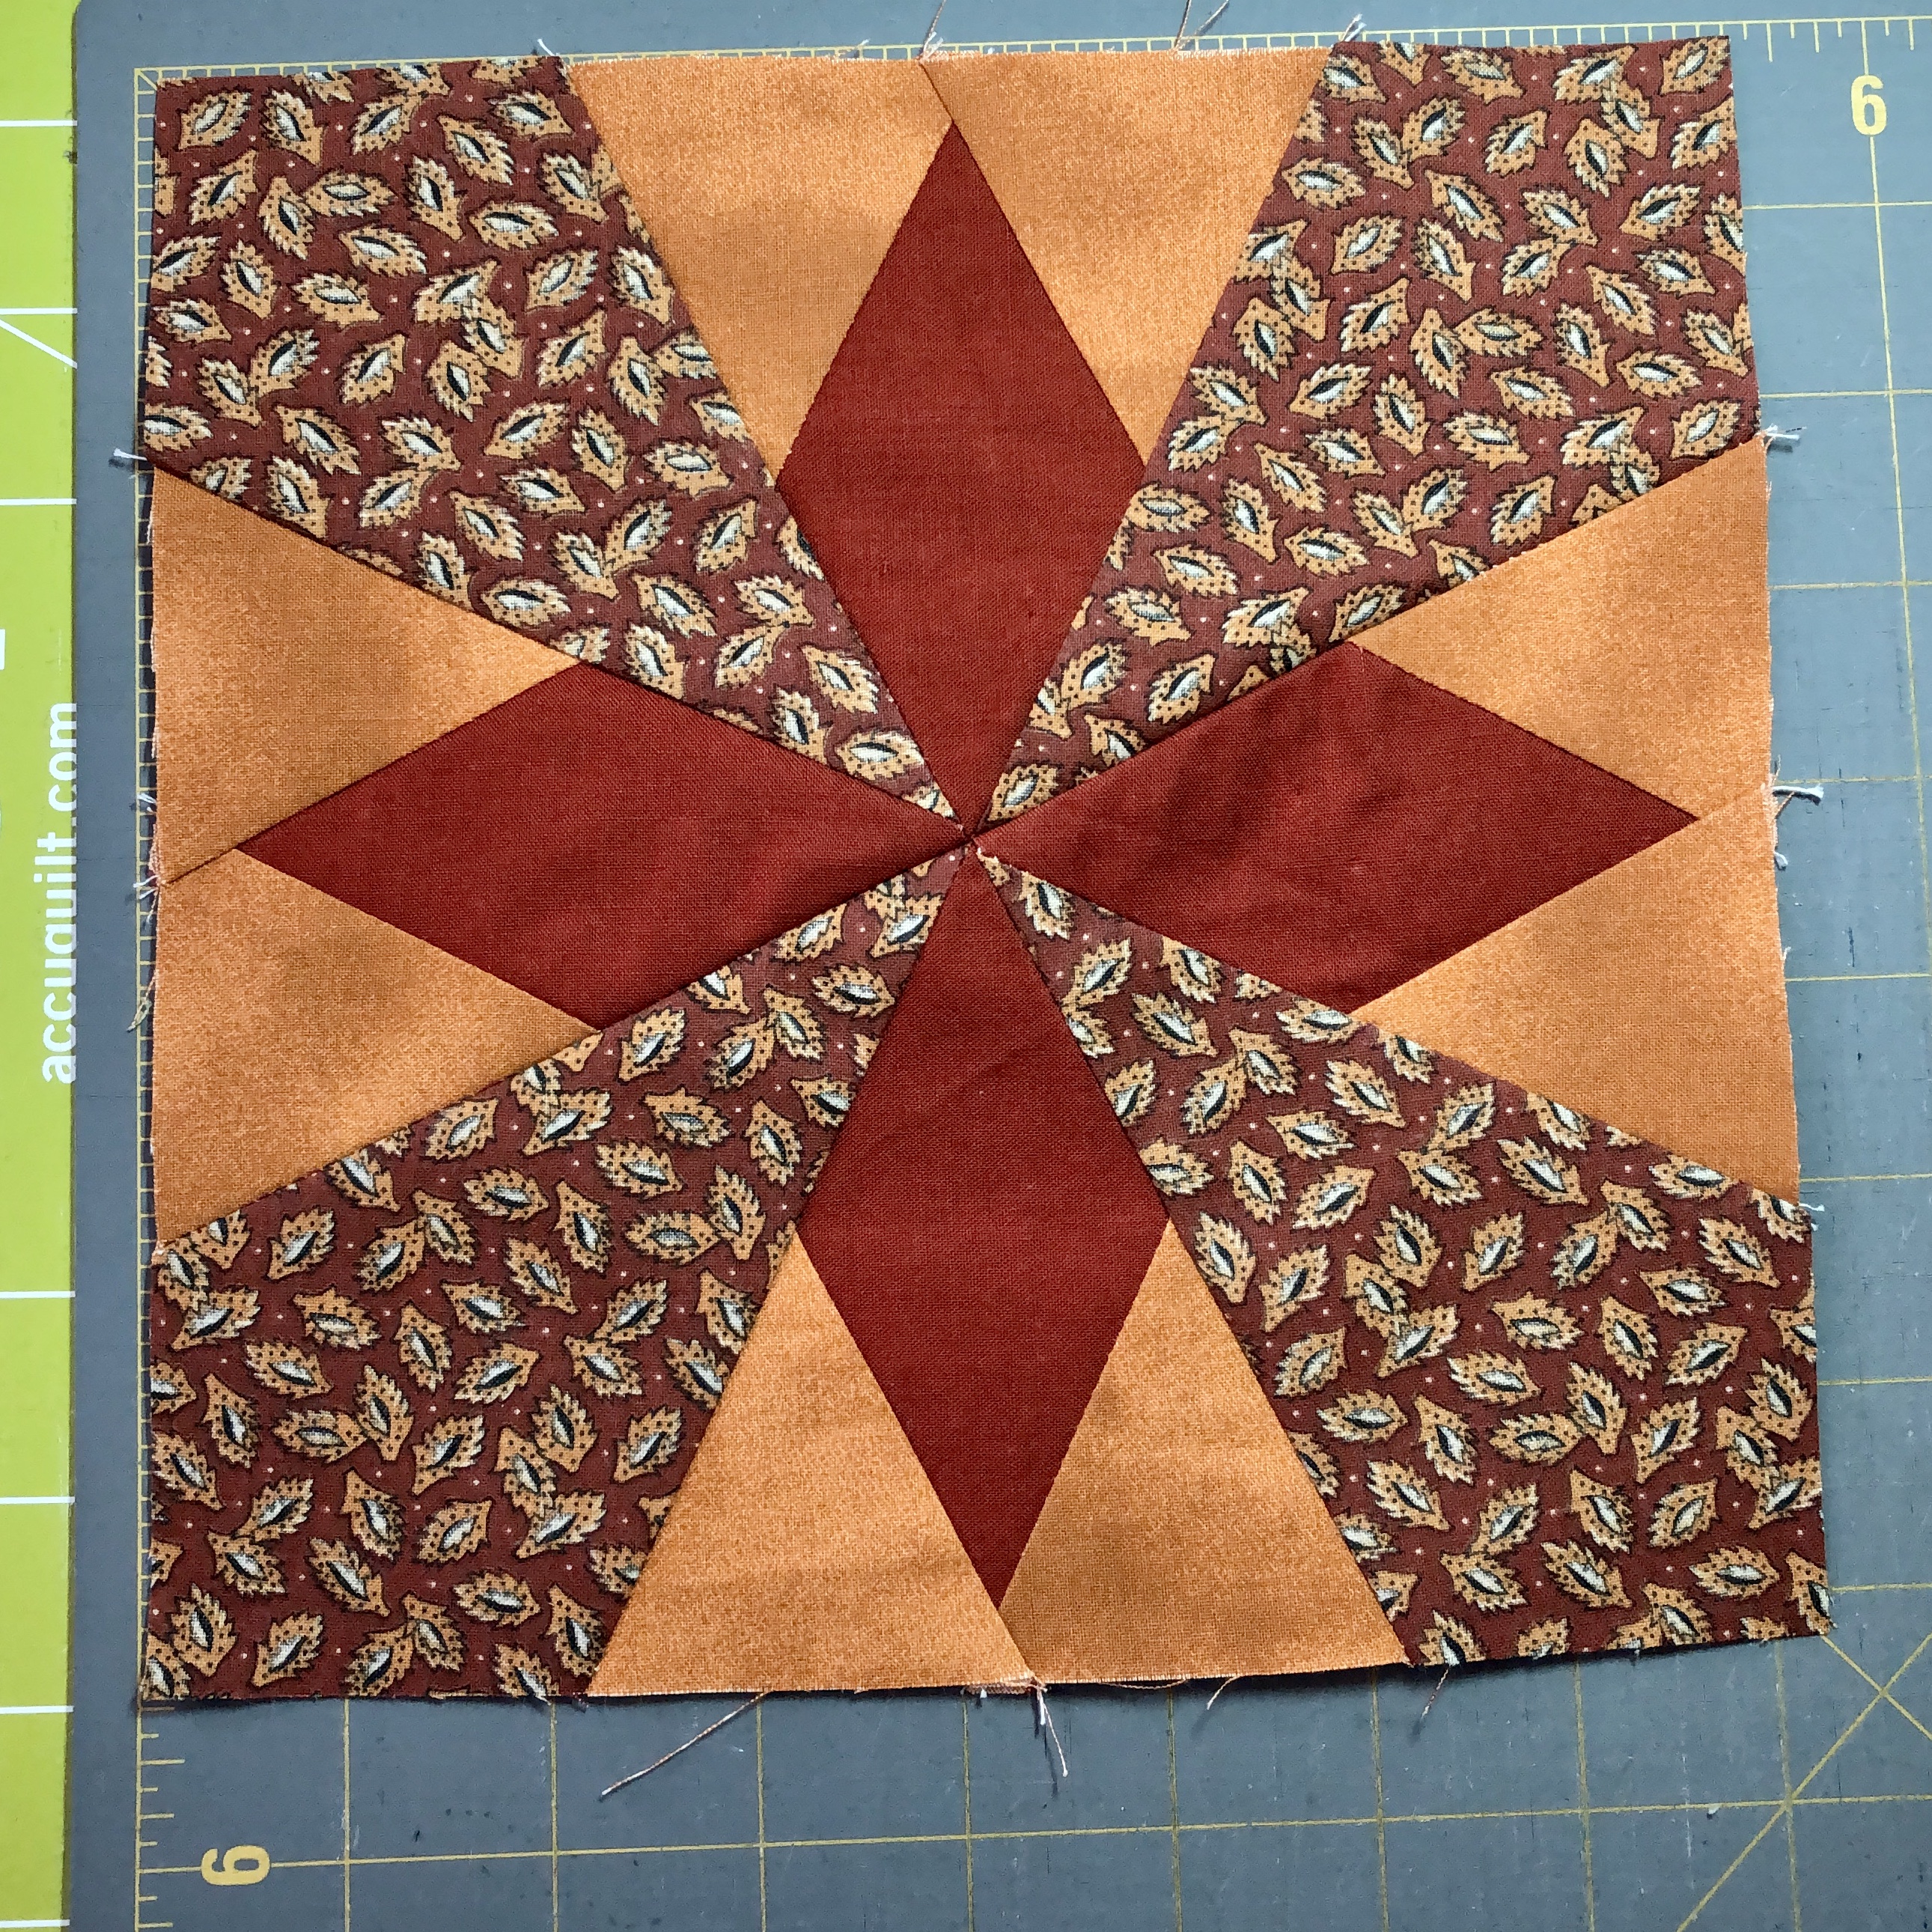
Voila! You have a completed Hattie’s Choice block. In a perfect world, these blocks would measure 8.5″, but you can see that mine are only 8.25.” This will be fine as long as all of your blocks are consistently the same measurement.


Do you have the photo of the finished fabrics you used in the instructional block? Very interesting color combo! I just got my die a couple weeks ago but had to try the Arkansas Traveler first. Your tutorial prompts me to try the Hattie’s choice now! Thanks!